Creating API Keys in Penify
In this tutorial, you'll learn how to create API keys in Penify, which are essential for authenticating and integrating Penify services with your applications. API keys allow you to interact with the Penify API securely, enabling features like automated code documentation generation, static analysis, and more.
Step 1: Log In to Your Penify Account
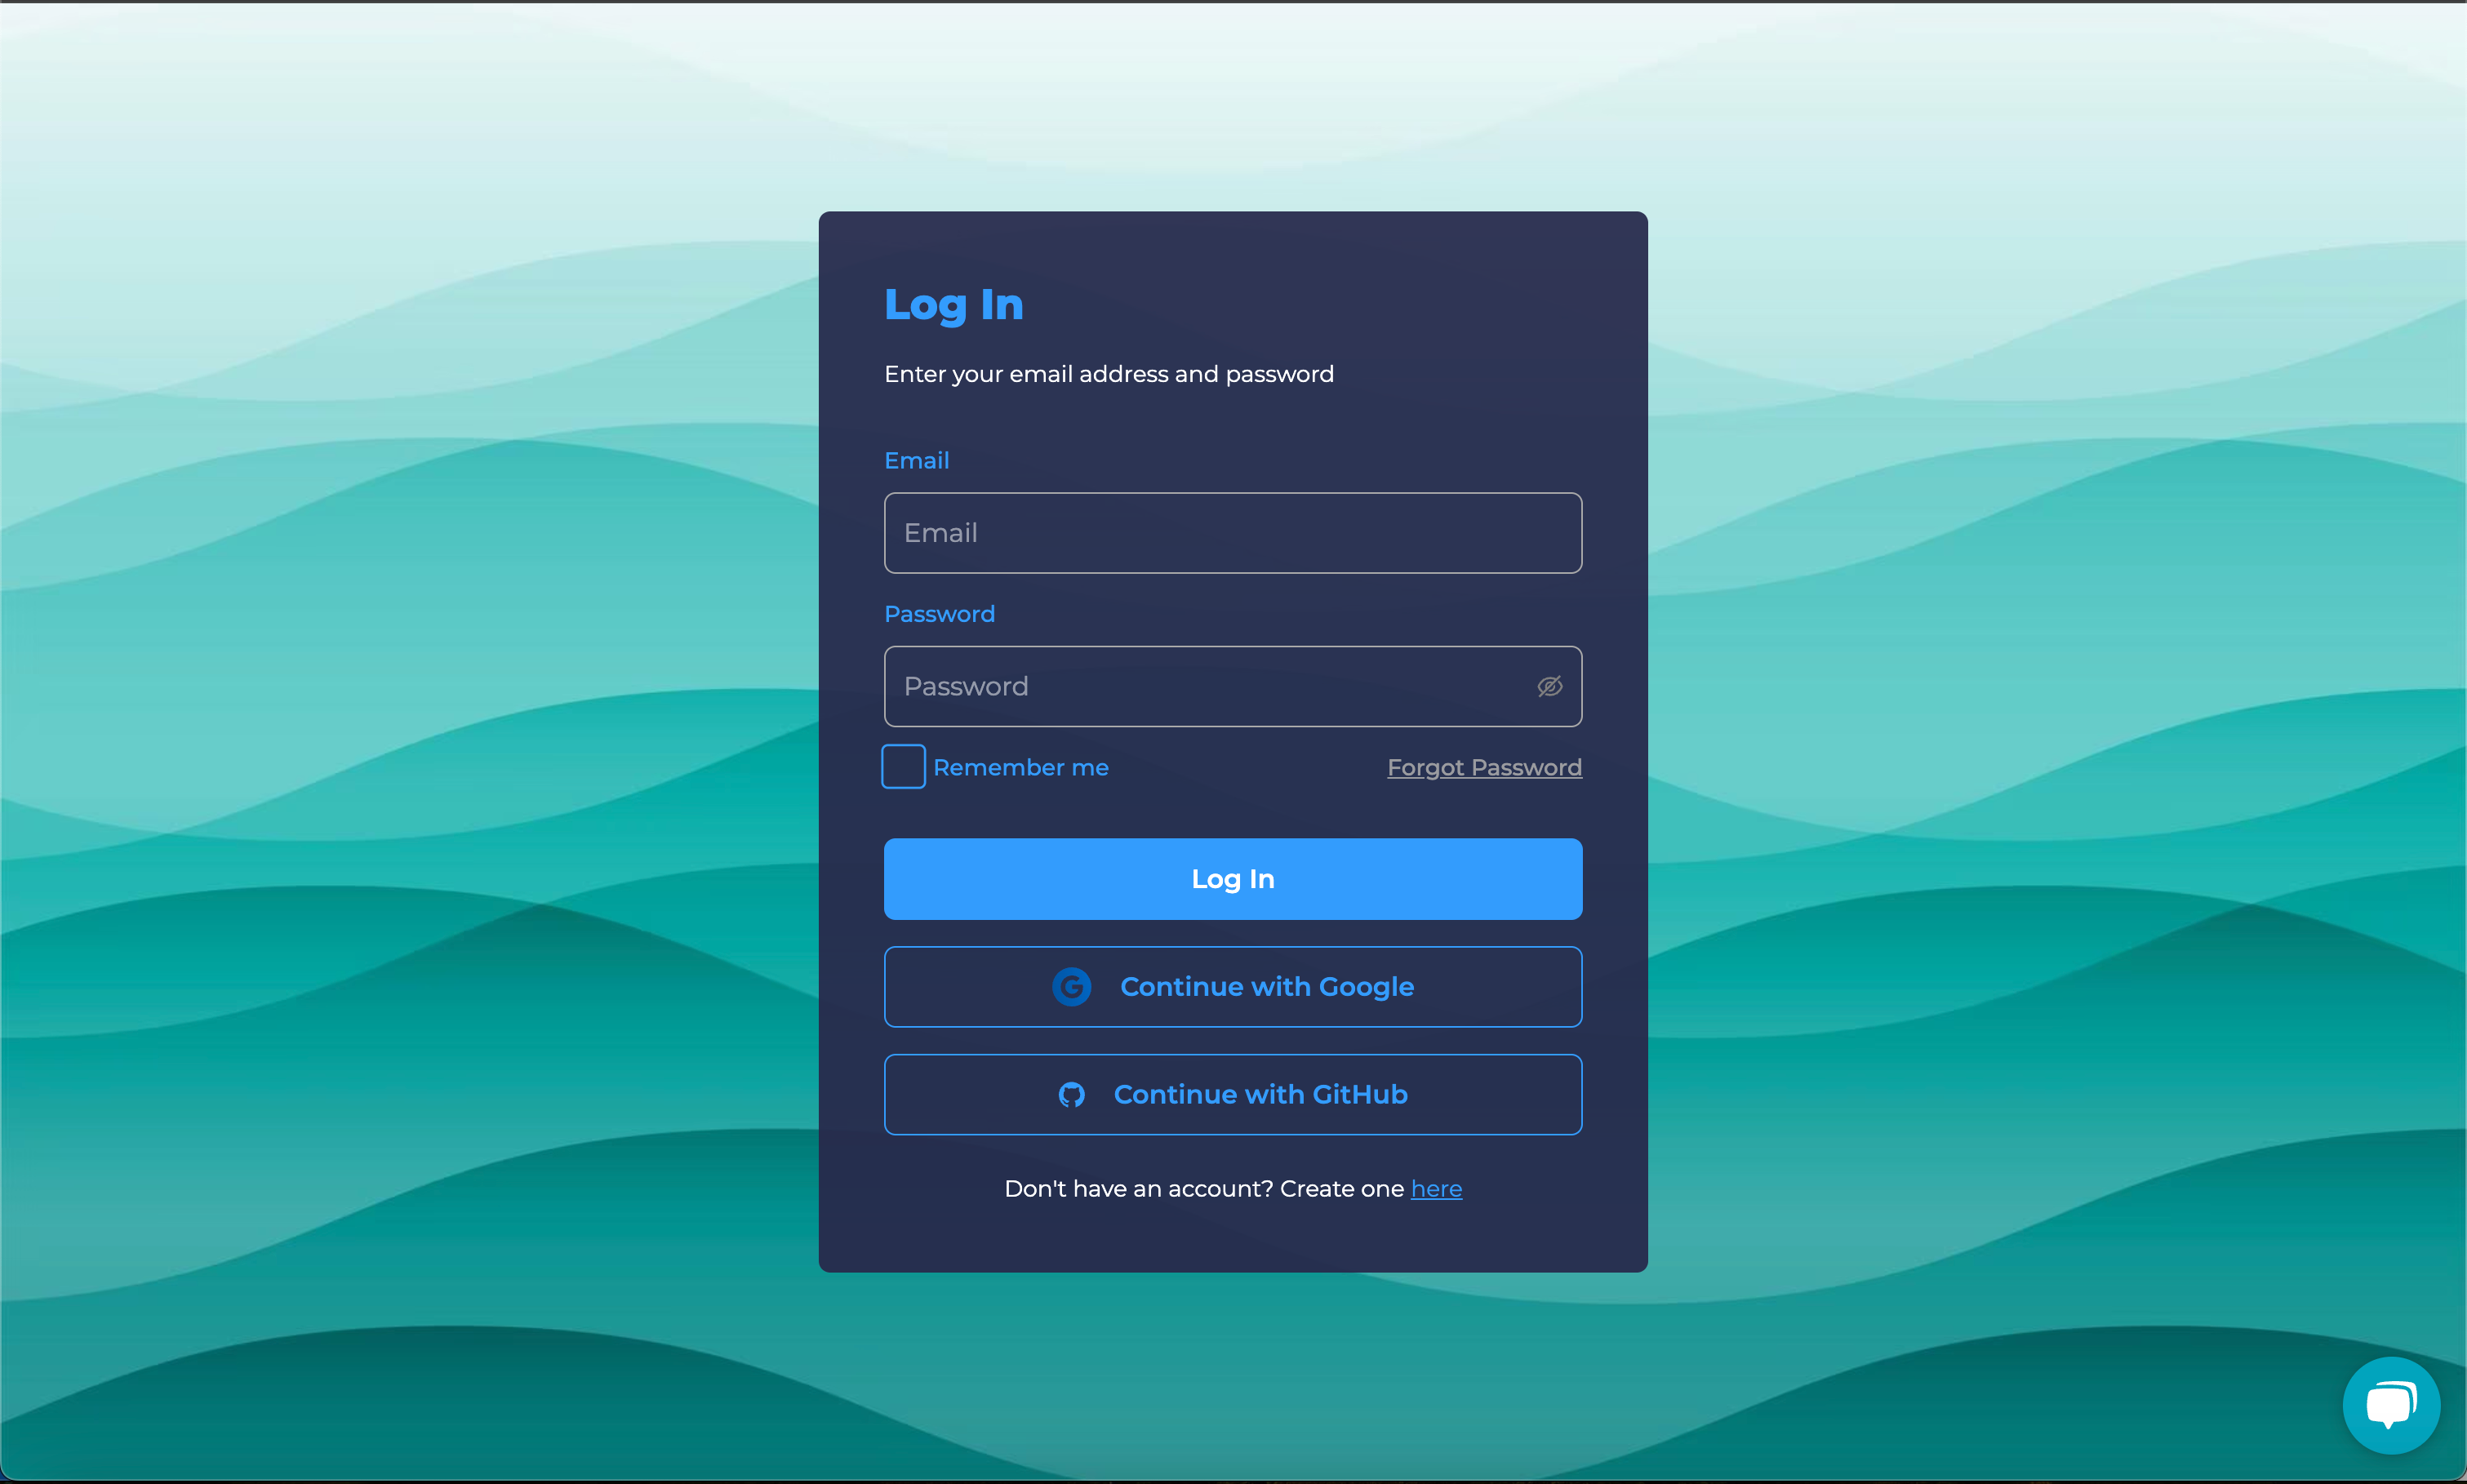
Visit the Penify Dashboard.
Enter your credentials (email and password)/Google/Github to log in.
Step 2: Navigate to the API Keys Section
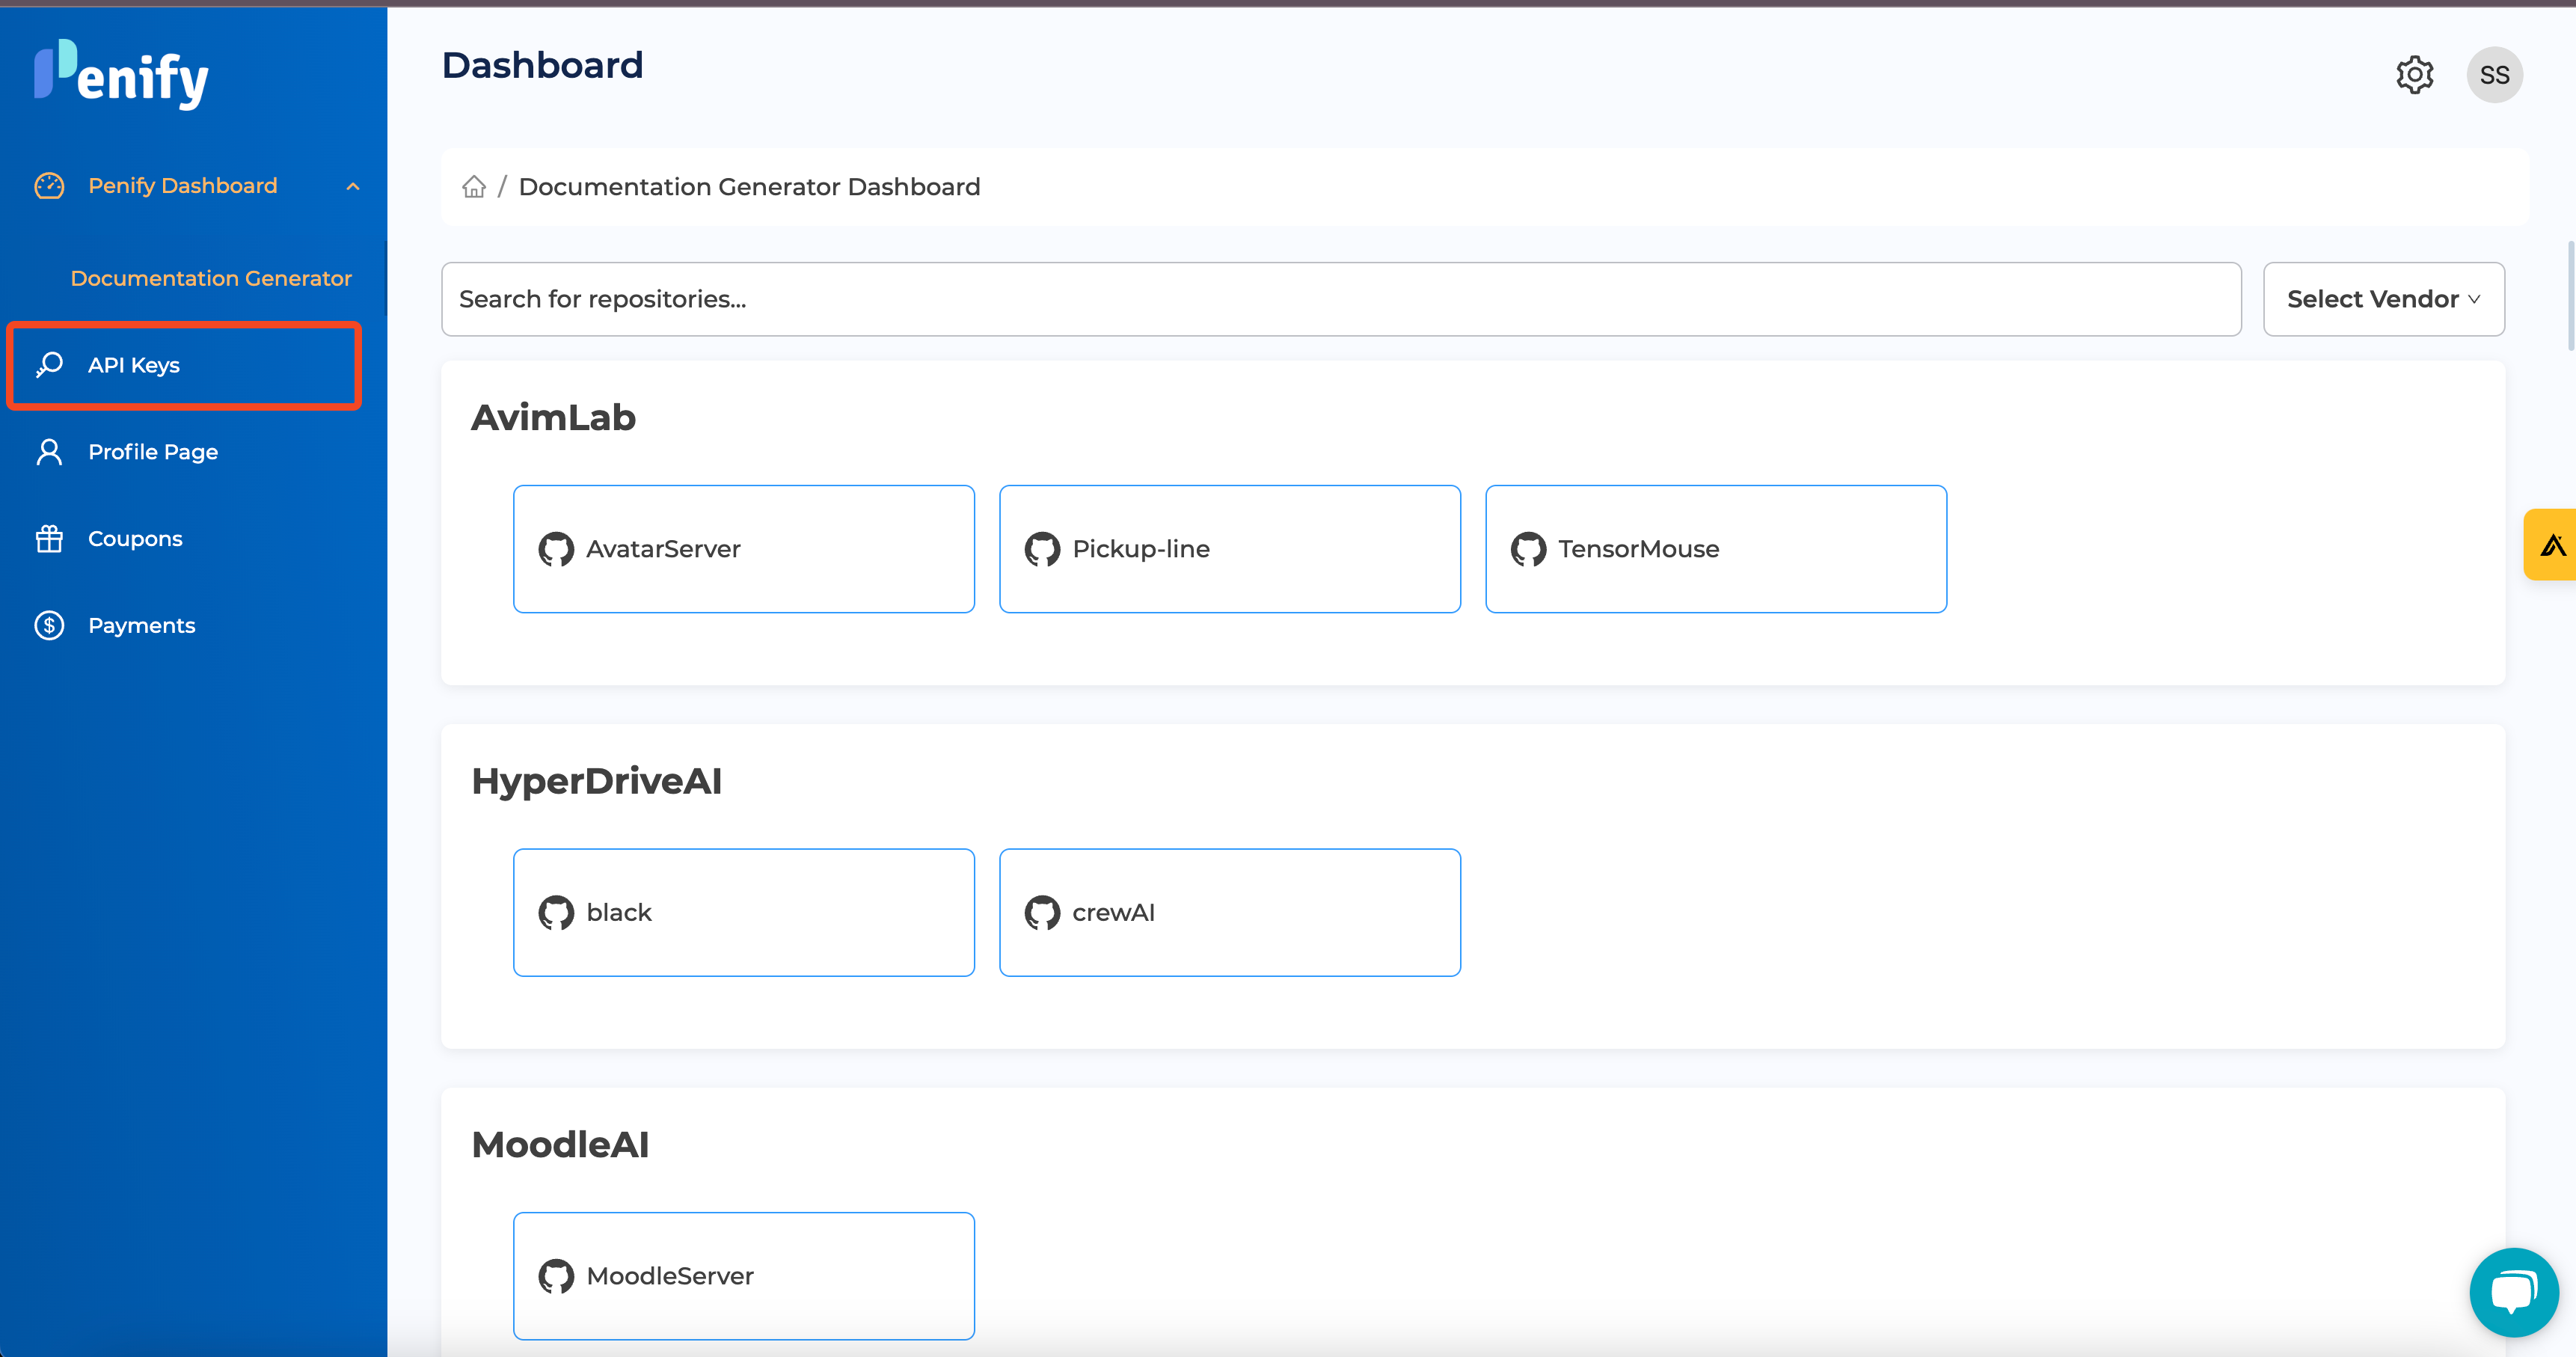
Once logged in, locate the sidebar on the left-hand side of the dashboard.
Click on "API Keys" under the "Settings" section.
Step 3: Create a New API Key
In the API Keys section, you'll see a button labeled "Create". Click on it.
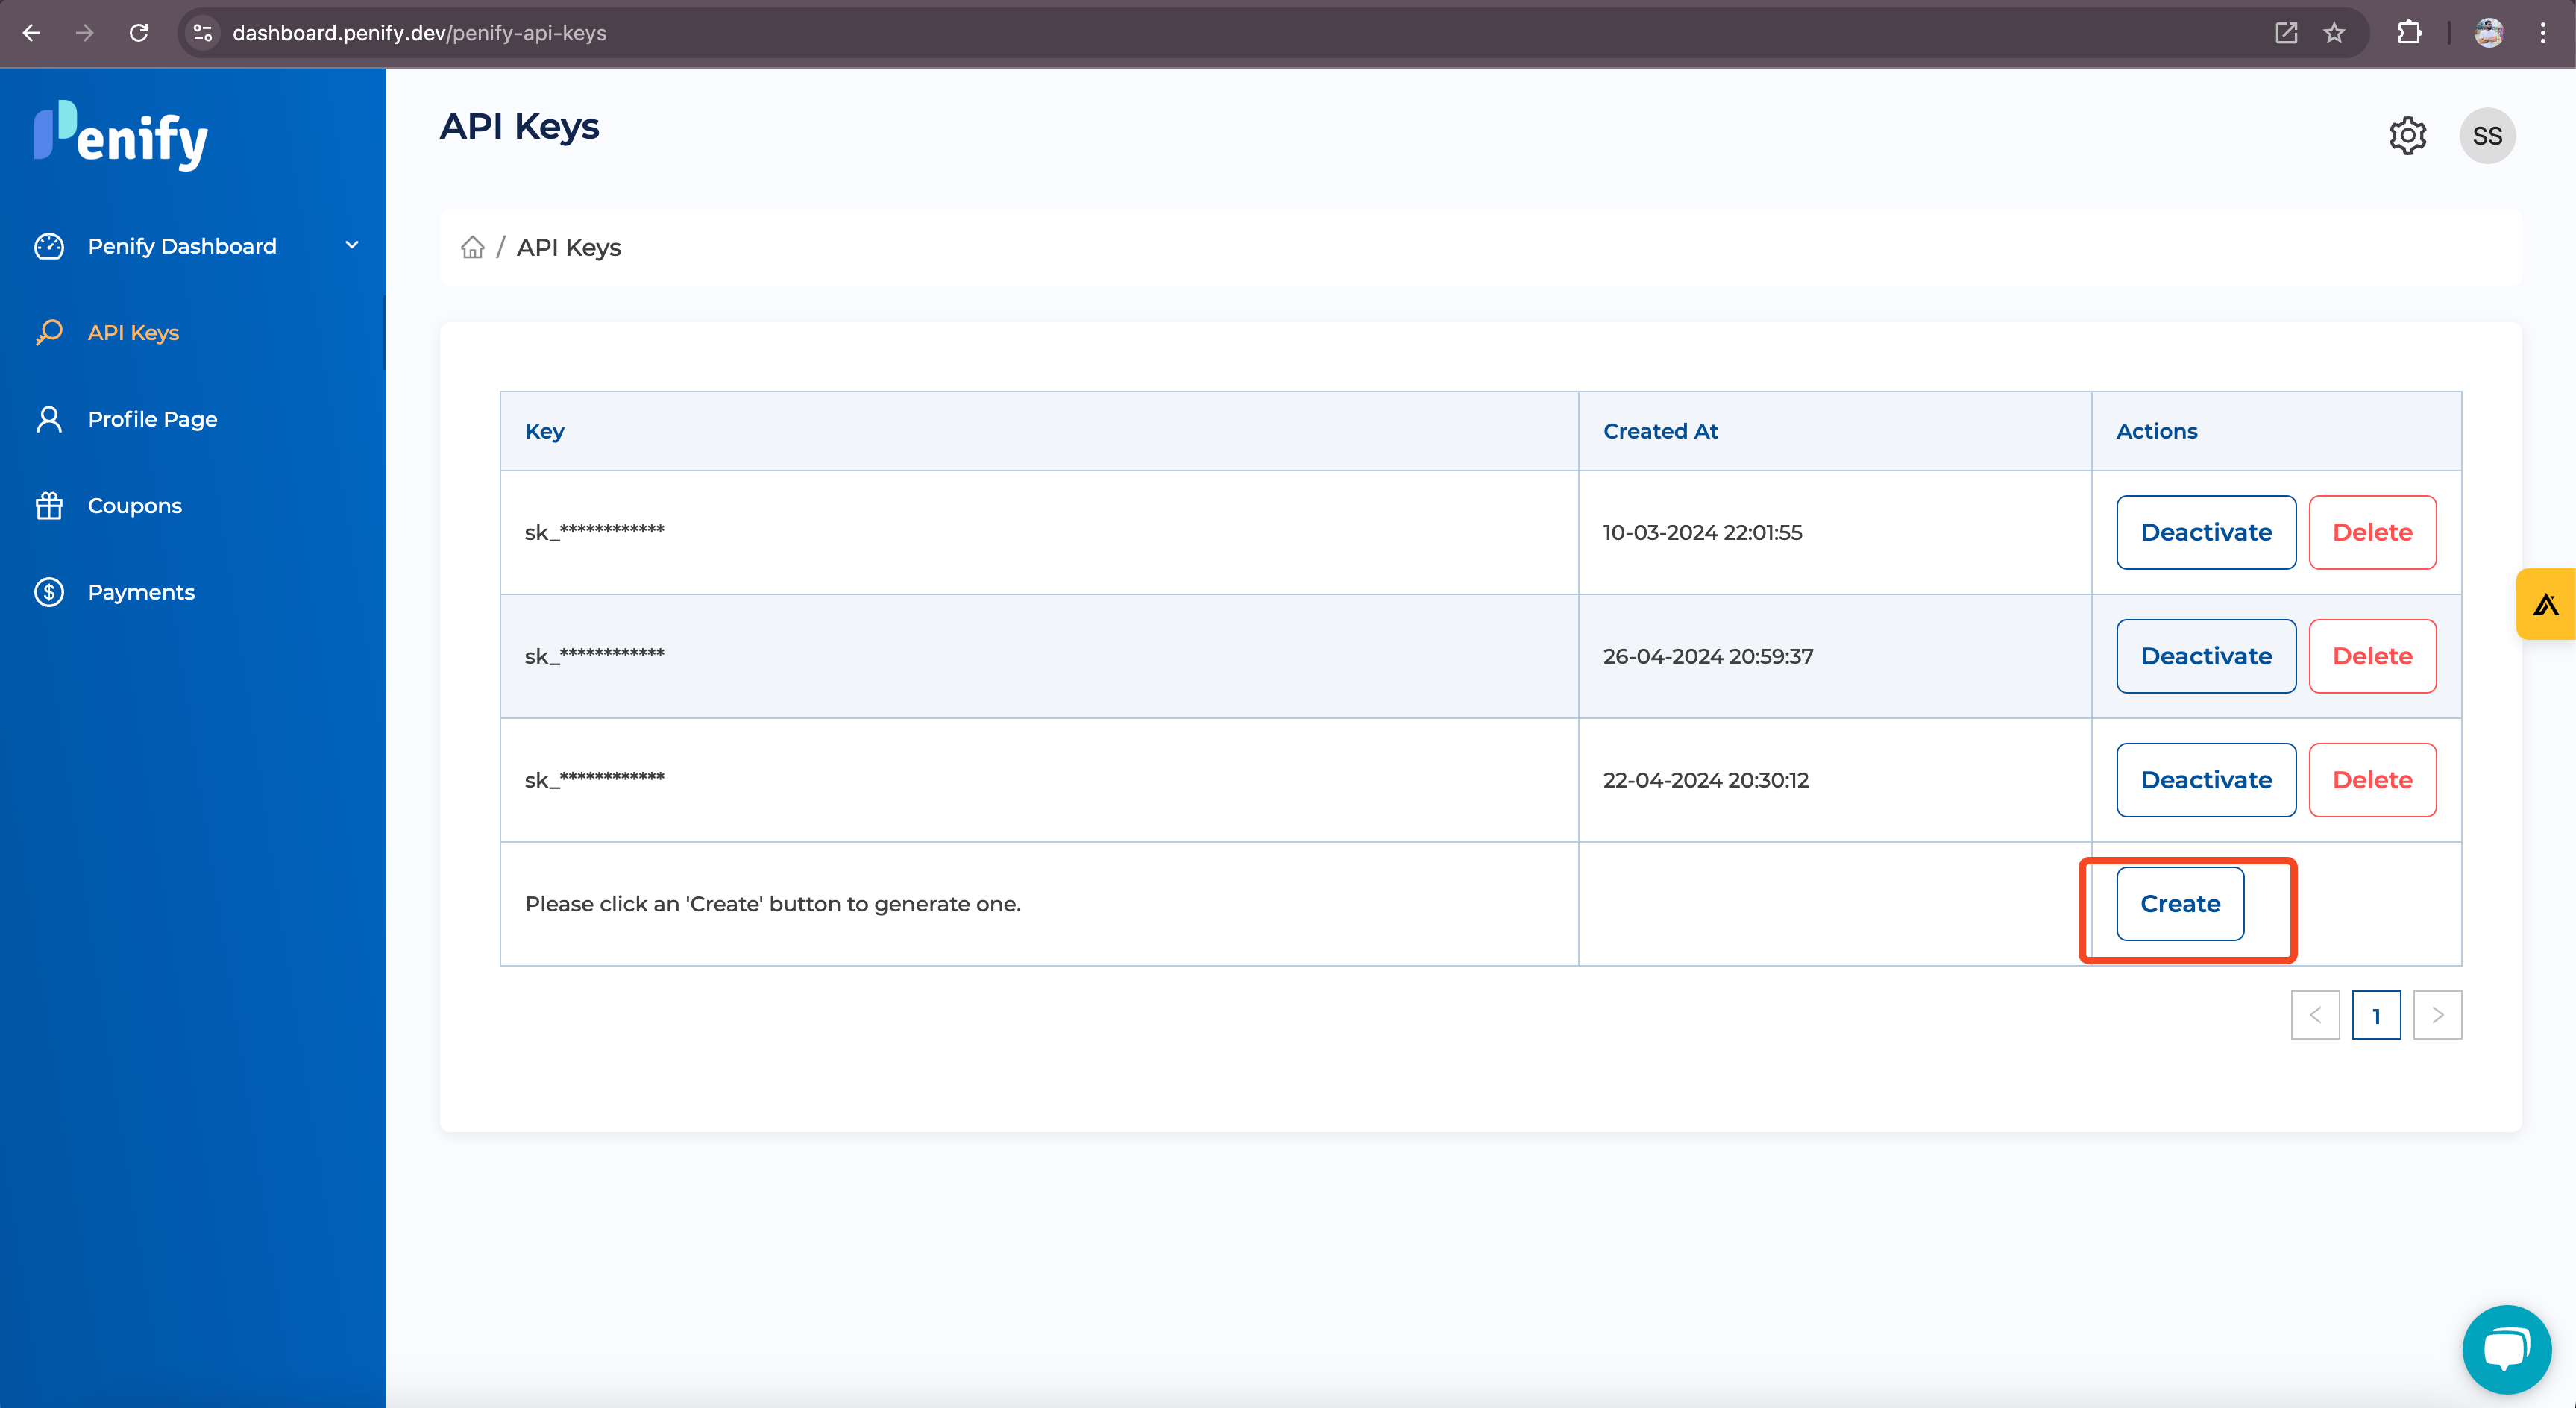
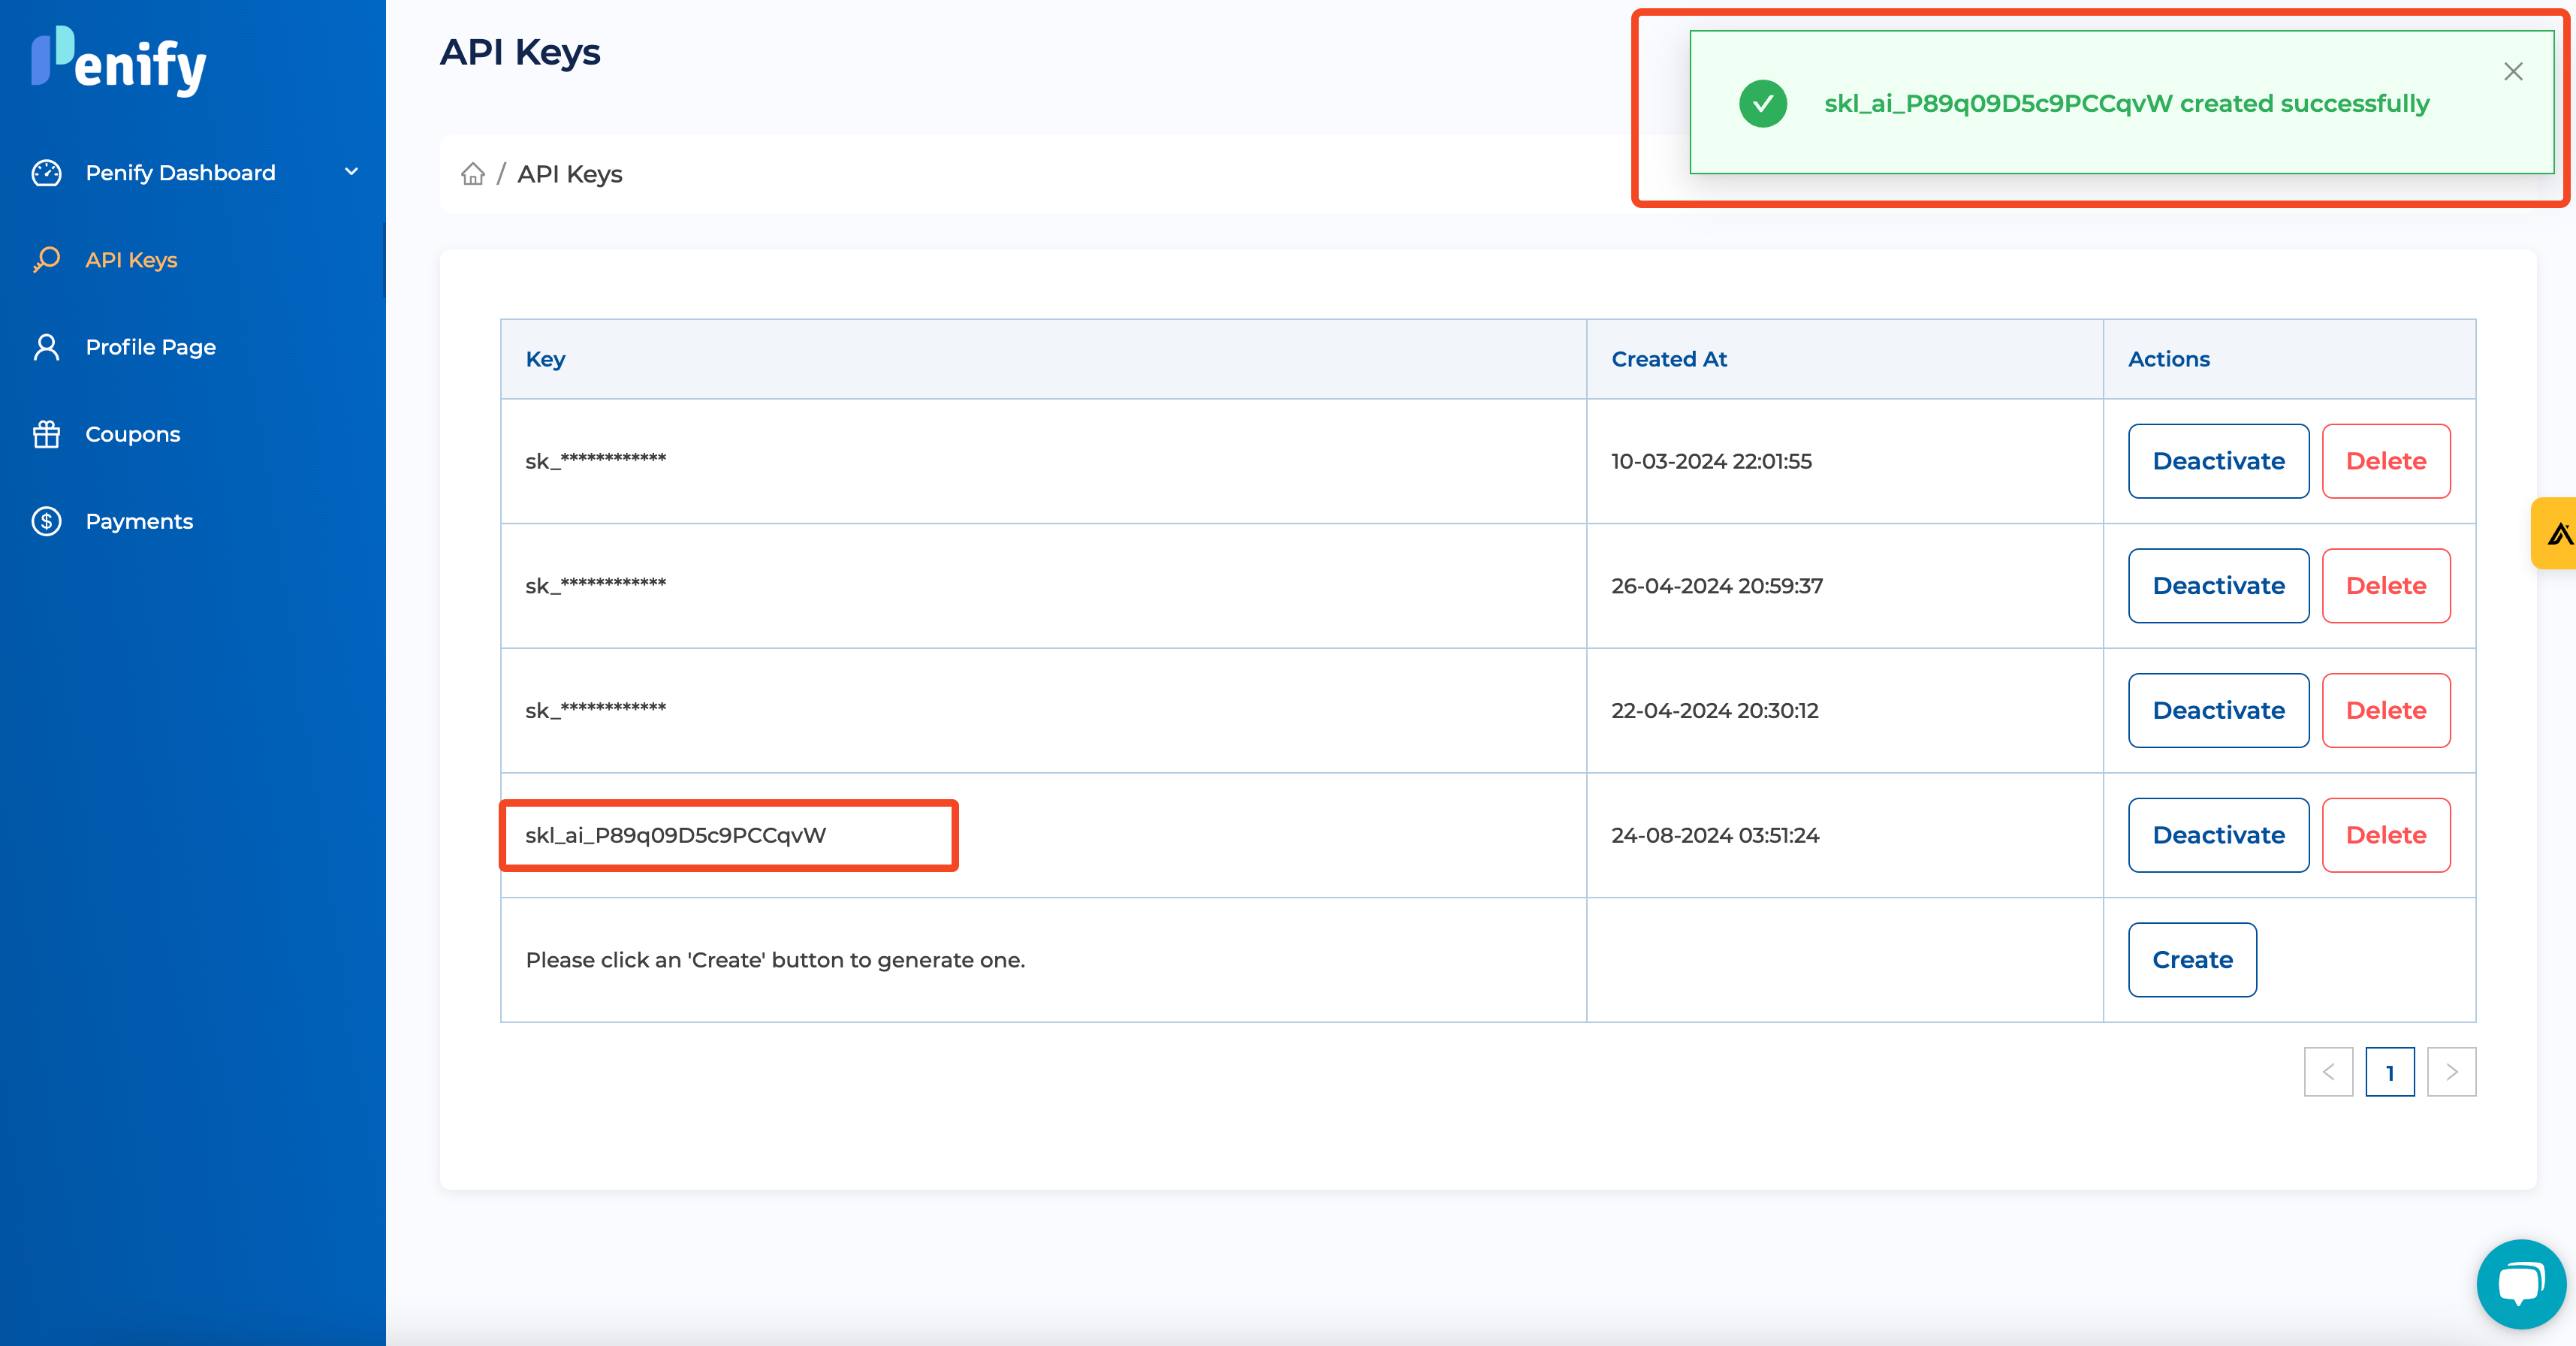
It will automatically generate Api Key.
Step 4: Copy and Store Your API Key Securely
Once your API key is generated, it will be displayed on the screen. Copy this key immediately, as it will not be shown again for security reasons.

Store the API key in a secure location, such as a password manager or environment variable file.
Step 5: Use the API Key in Your Project
To use the API key in your project like Penify-Hook add it to your environment variable:
Example in a
.bashrcfile:bashexport PENIFY_API_KEY=your_api_key_here
or in the terminal type
export PENIFY_API_KEY=your_api_key_hereStep 6: Managing and Revoking API Keys
You can manage your API keys at any time by returning to the API Keys section in the dashboard.
To revoke an API key, click on the "Disable" button next to the key you wish to disable.
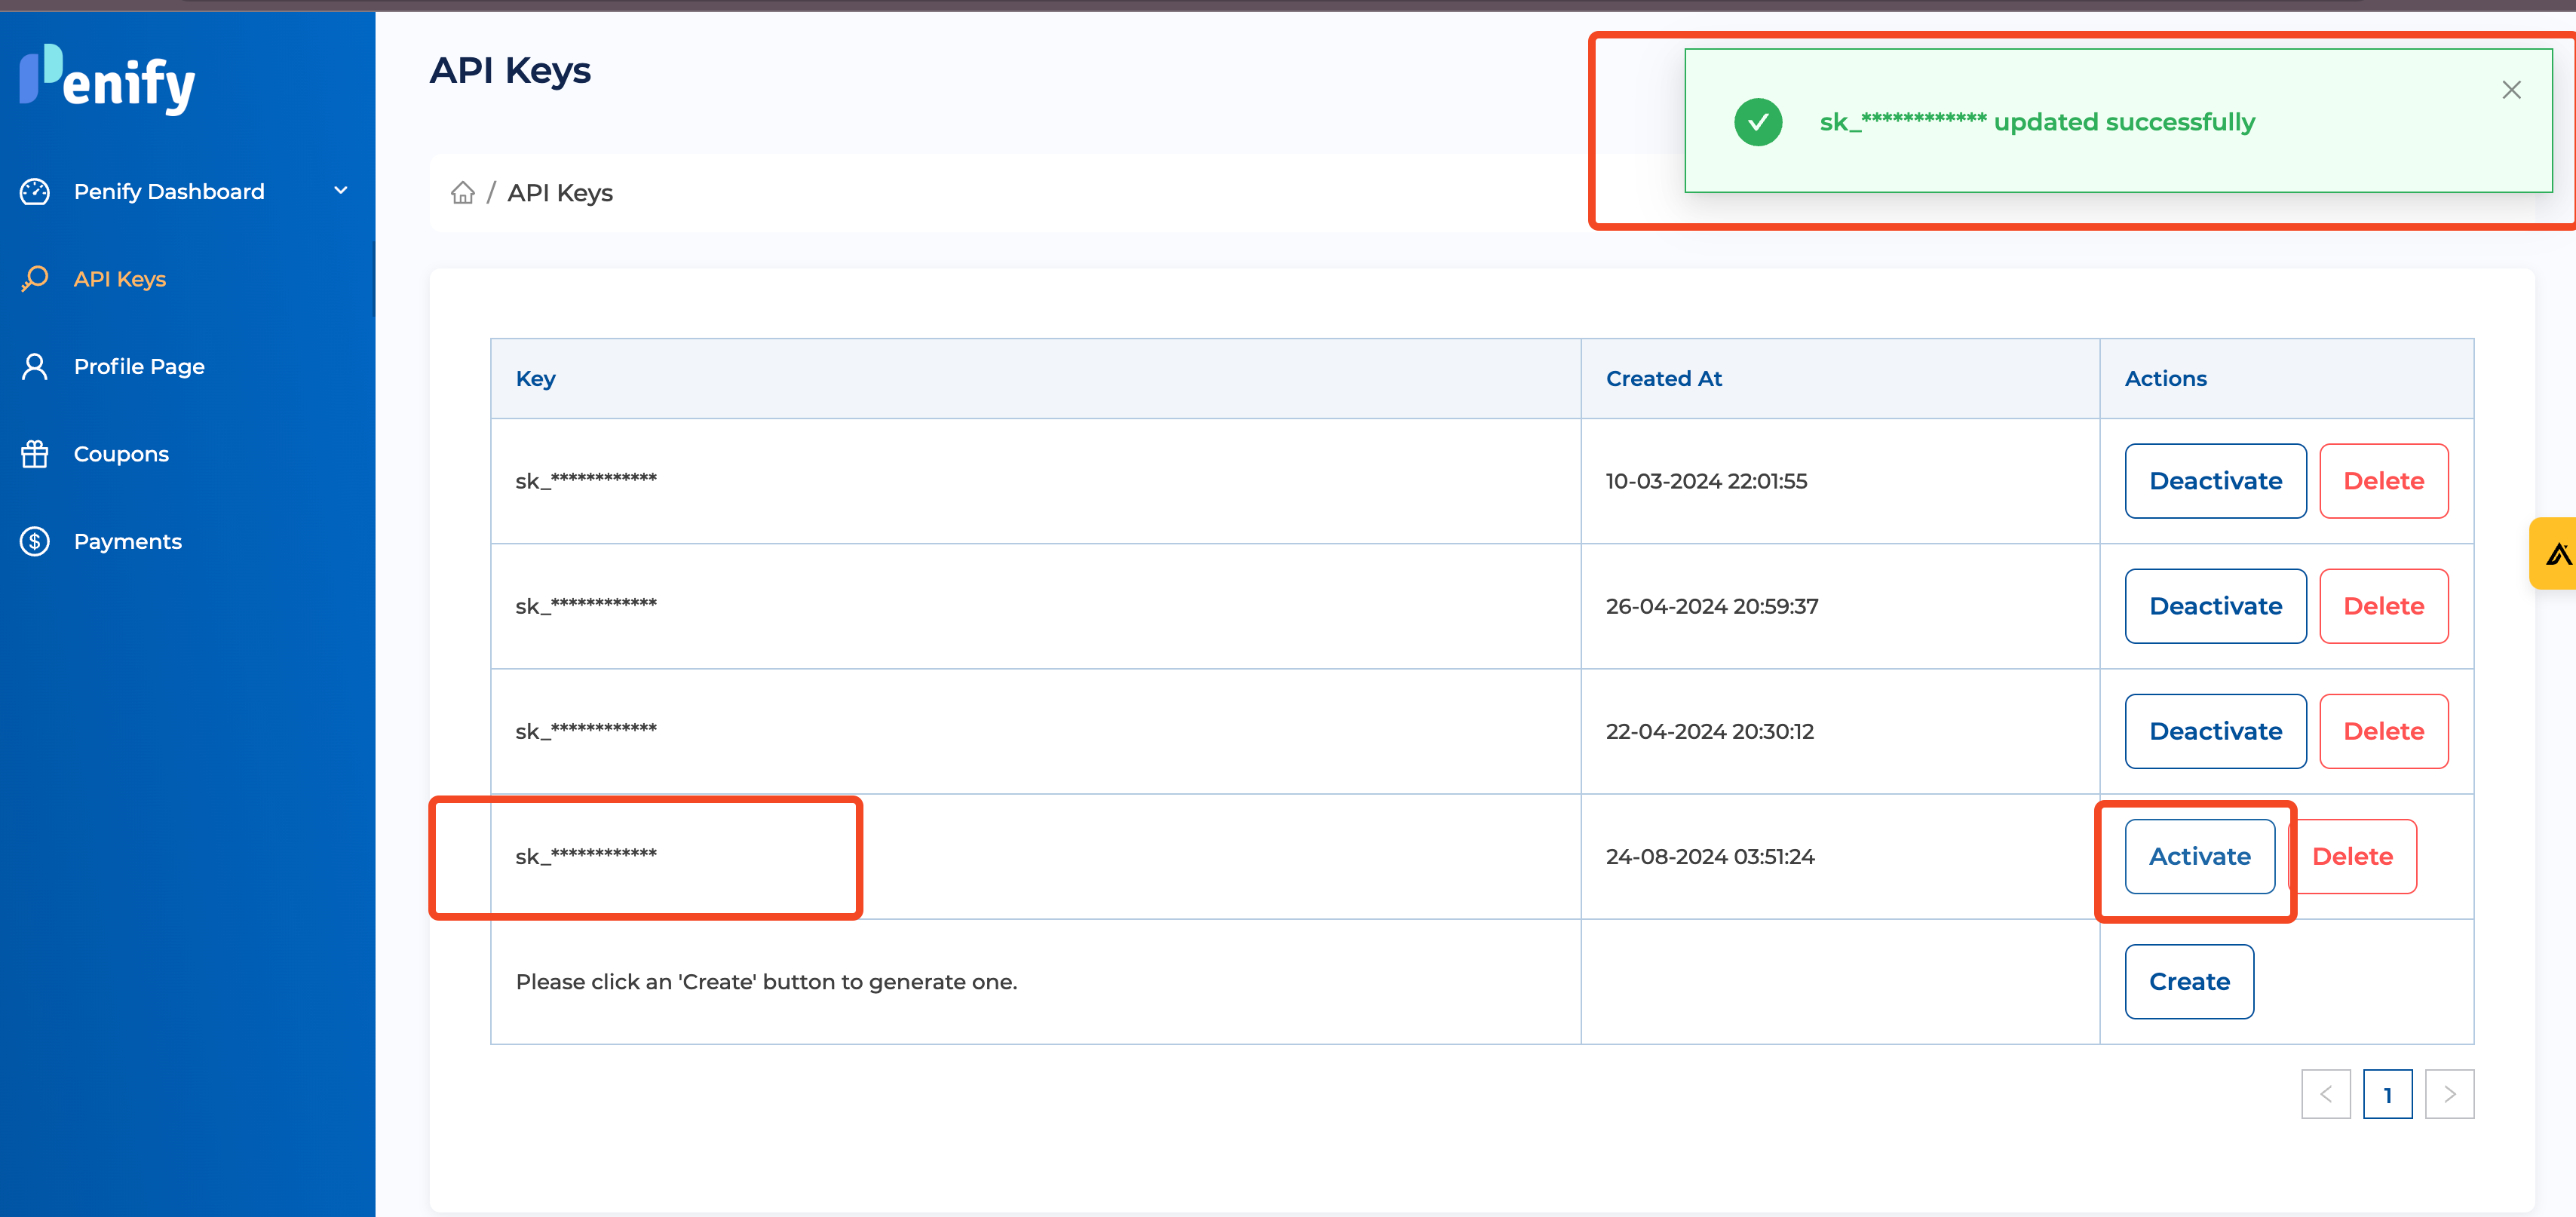
Note: Revoked keys cannot be re-enabled. You will need to create a new key if necessary.
Conclusion
You've successfully created and managed an API key in Penify! These keys are crucial for integrating Penify's powerful features into your development workflow. Remember to keep your API keys secure and never share them publicly.
Happy coding!!