What's Penify?
Penify is a Git App (GitHub/BitBucket) designed to automate the documentation for Git projects automatically.
It activates automatically after installation in your Git Repo. a. It tracks changes every time a pull request is merged. b. Penify recognizes new classes and functions in the code and updates documentation accordingly.
The core features of Penify are:
- Full Repository Documentation
- Automatic Documentation Update
- Pull Request Analysis
- AI Commits
- Documentation Quality of your Repository.
- API Documentation
- Architecture Documentation
- Git Commit Hooks
🛠️ How to Install Penify on GitHub?
Installing Penify on your GitHub repository or organization is a straightforward process. For Bitbucket, please check this document.
📋 Pre-requisites
- A GitHub account.
- If you face permissions issue, please connect with Penify Support team
🧭 Step-by-Step Installation Guide
Log In to GitHub
- Open your web browser and navigate to GitHub.
- Sign in to your GitHub account. 🔑
Access the Penify GitHub App Page
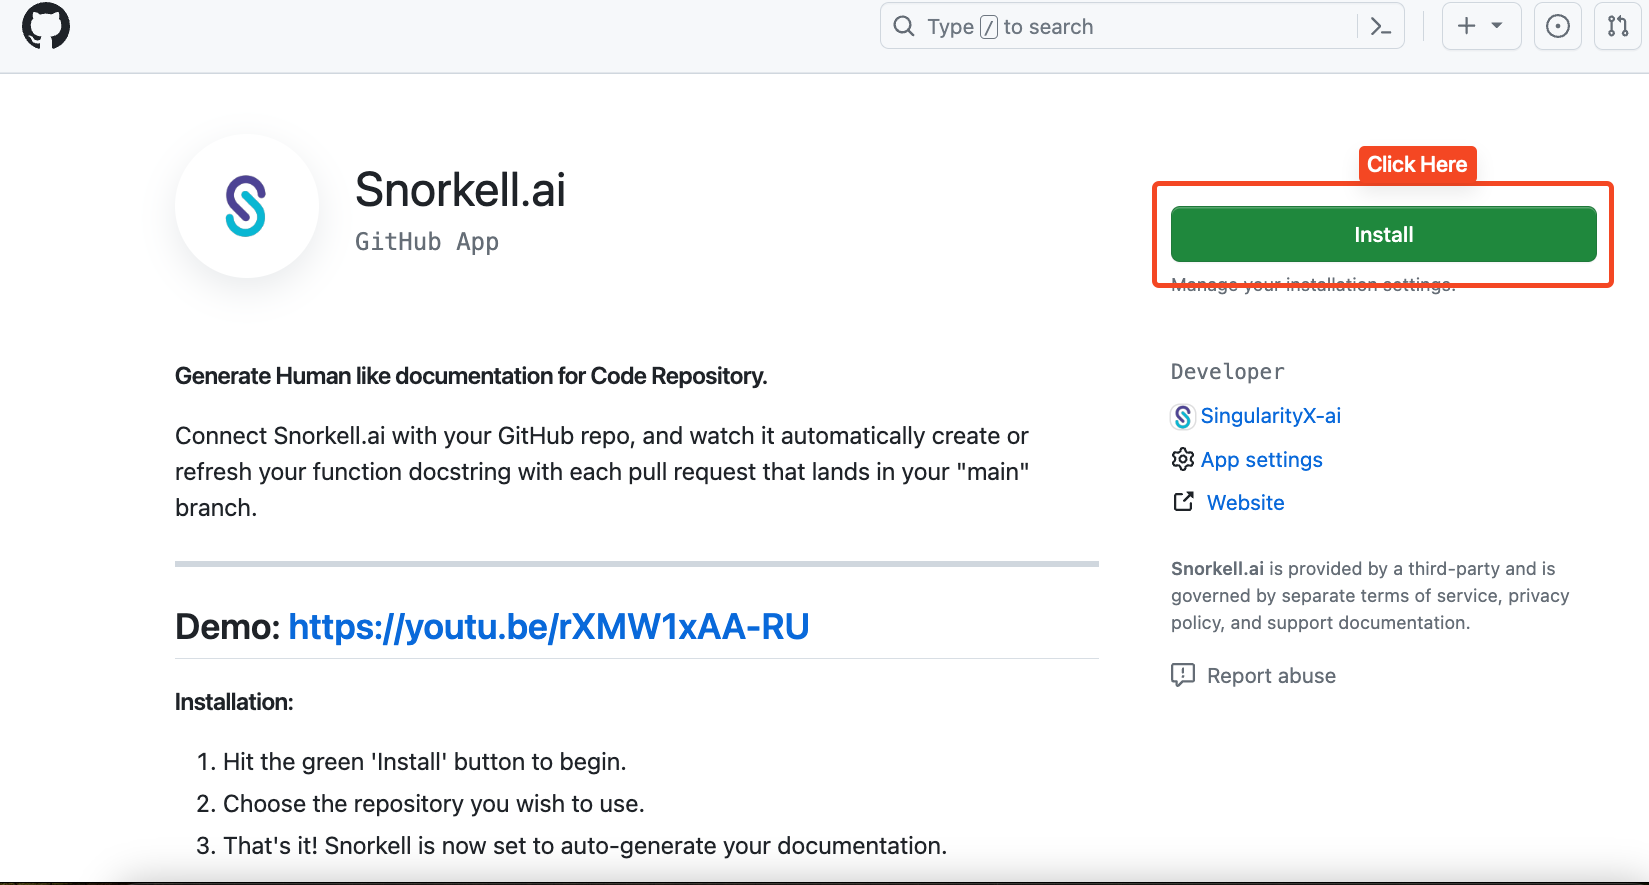
- Go to the Penify app page Github App.
- It can also be found through the GitHub Marketplace or by visiting the Penify website and selecting the option to install.
Initiate Installation
Select Installation Target 🏢
- Choose whether to install Penify for your personal account or for an organization.
- If you manage multiple organizations or repositories, select the ones where you wish to install Penify.
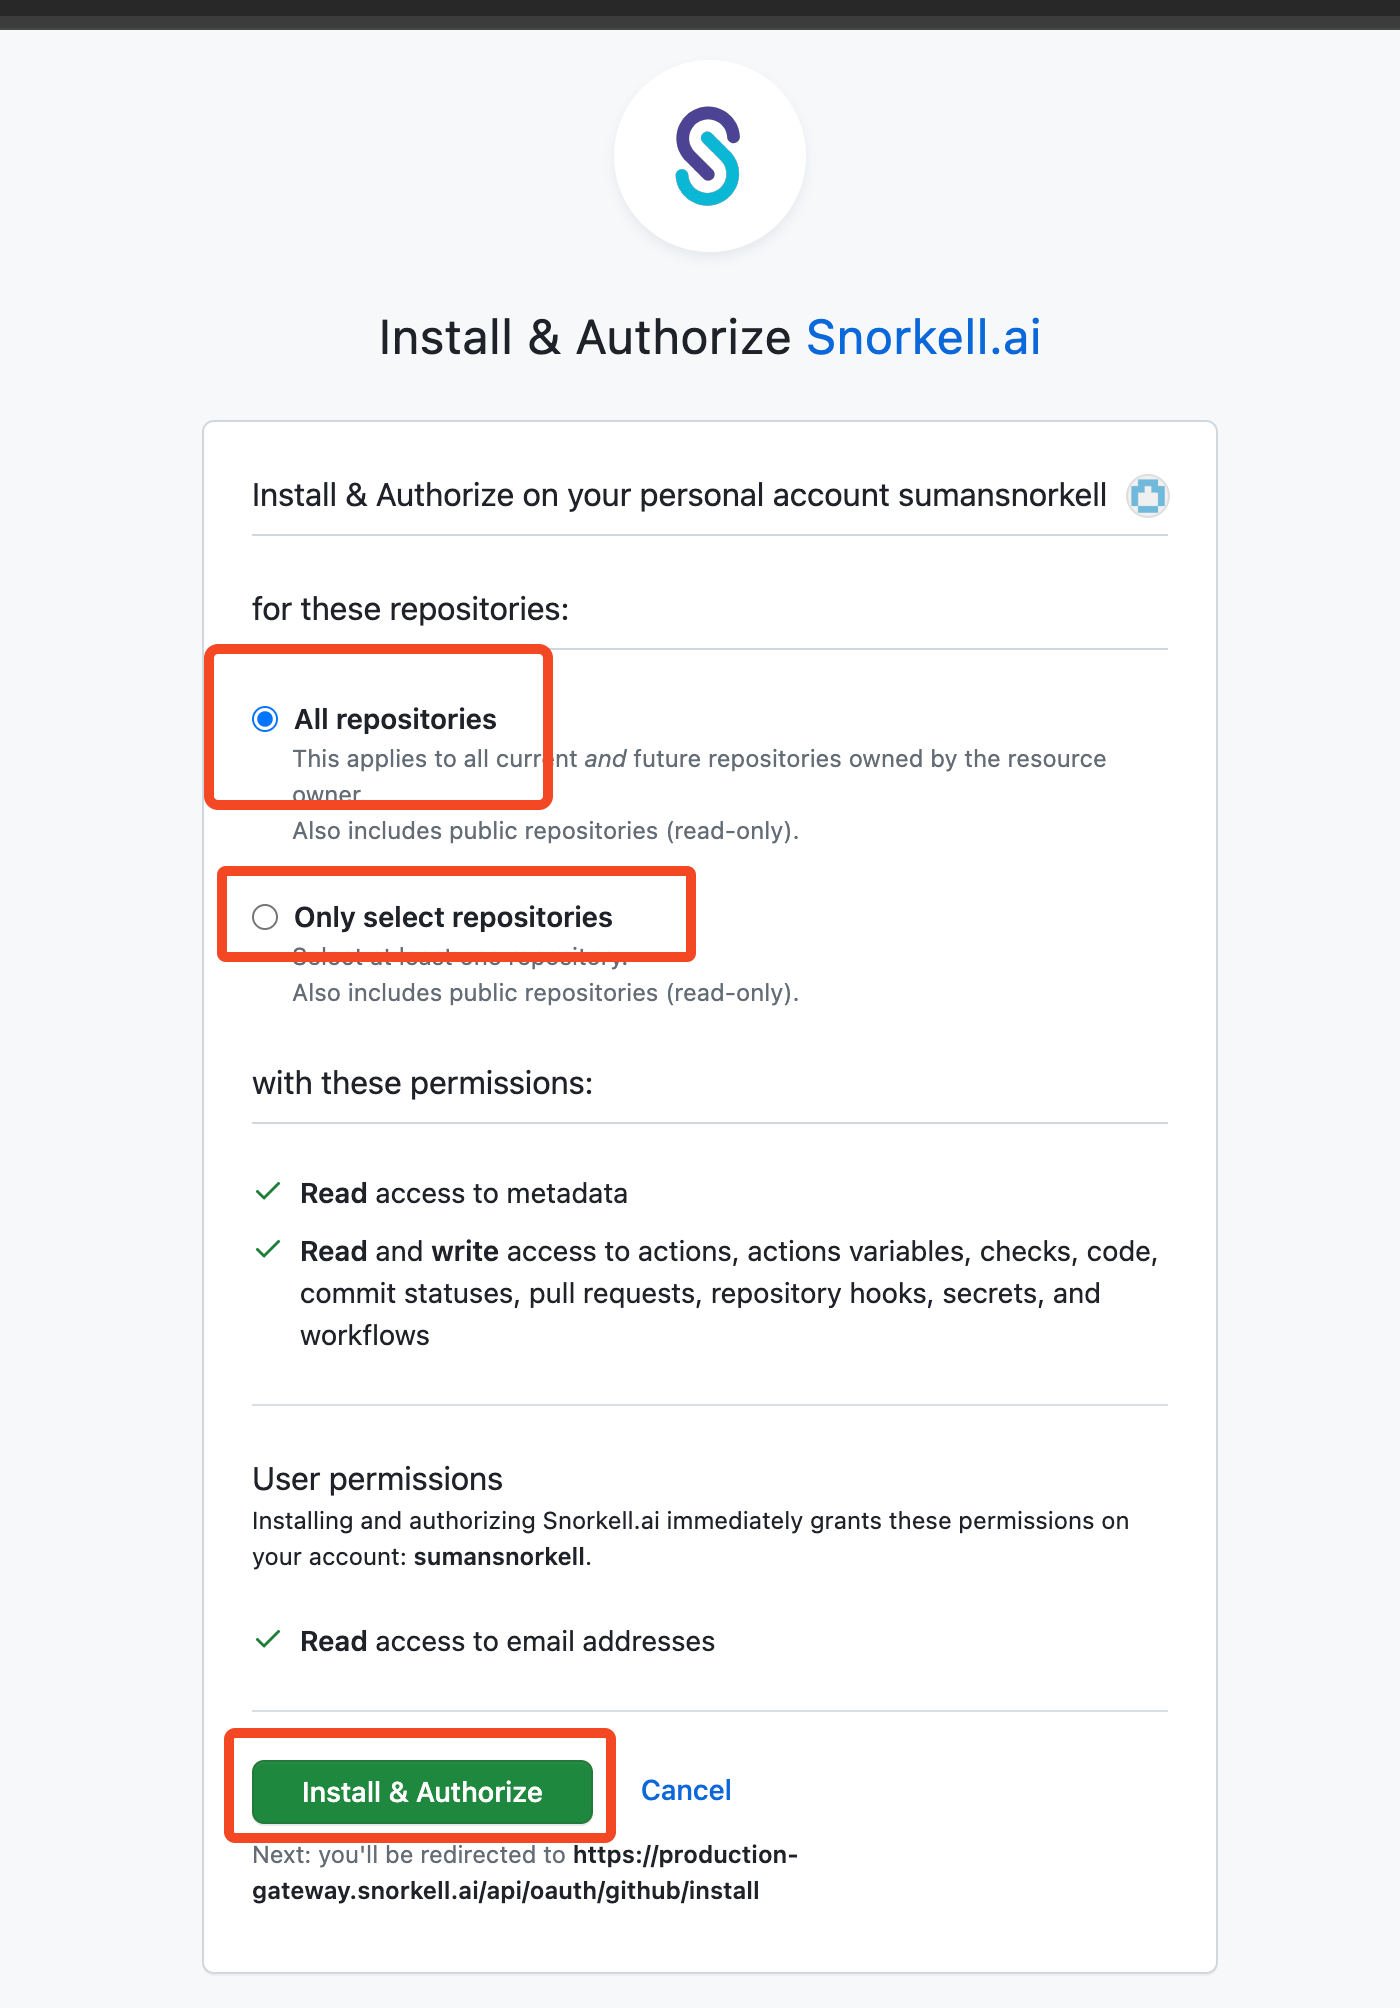
Configure Permissions
- Review the permissions requested by Penify.
- Grant the necessary permissions by clicking ‘Approve & install’ or a similar confirmation button.
Complete Installation
- Once you approve the permissions, Penify will be installed on your selected repositories or organization. ✅
- You will receive a confirmation message, and you may be redirected to Penify Dashboard.
Start Using Penify
- Once installed, Penify will automatically start tracking pull requests and generate or update documentation accordingly. 📚
Troubleshooting Github App Installation
- There could be multiple reason due to which the Github APP is not installed. Please go through this link if your Code Documentation is not getting generated.
🎥 Demo - Github
